Vercel
Learn how to deploy your TurboStarter app to Vercel.
For the complete documentation index, see llms.txt. Prefer markdown by appending.mdto documentation URLs or sendingAccept: text/markdown.
In general you can deploy the application to any hosting provider that supports Node.js, but we recommend using Vercel for the best experience.
Vercel is the easiest way to deploy Next.js apps. It's the company behind Next.js and has first-class support for Next.js.
Prerequisite: Vercel account
To deploy to Vercel, you need to have an account. You can create one here.
TurboStarter has two, separate ways to deploy to Vercel, each ships with one-click deployment. Choose the one that best fits your needs.
Deploying with this method is the easiest and fastest way to get your app up and running on the cloud provider. Follow these steps:
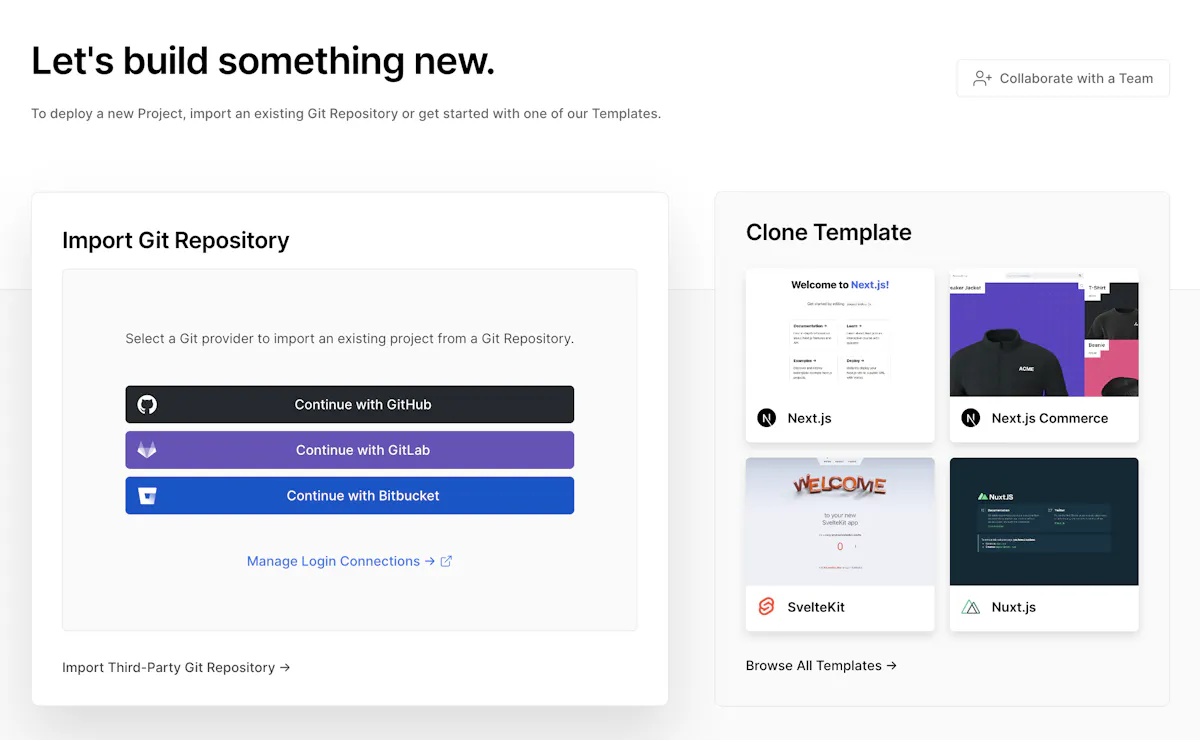
Connect your git repository
After signing up you will be promted to import a git repository. Select the git provider of your project and connect your git account with Vercel.
Configure project settings
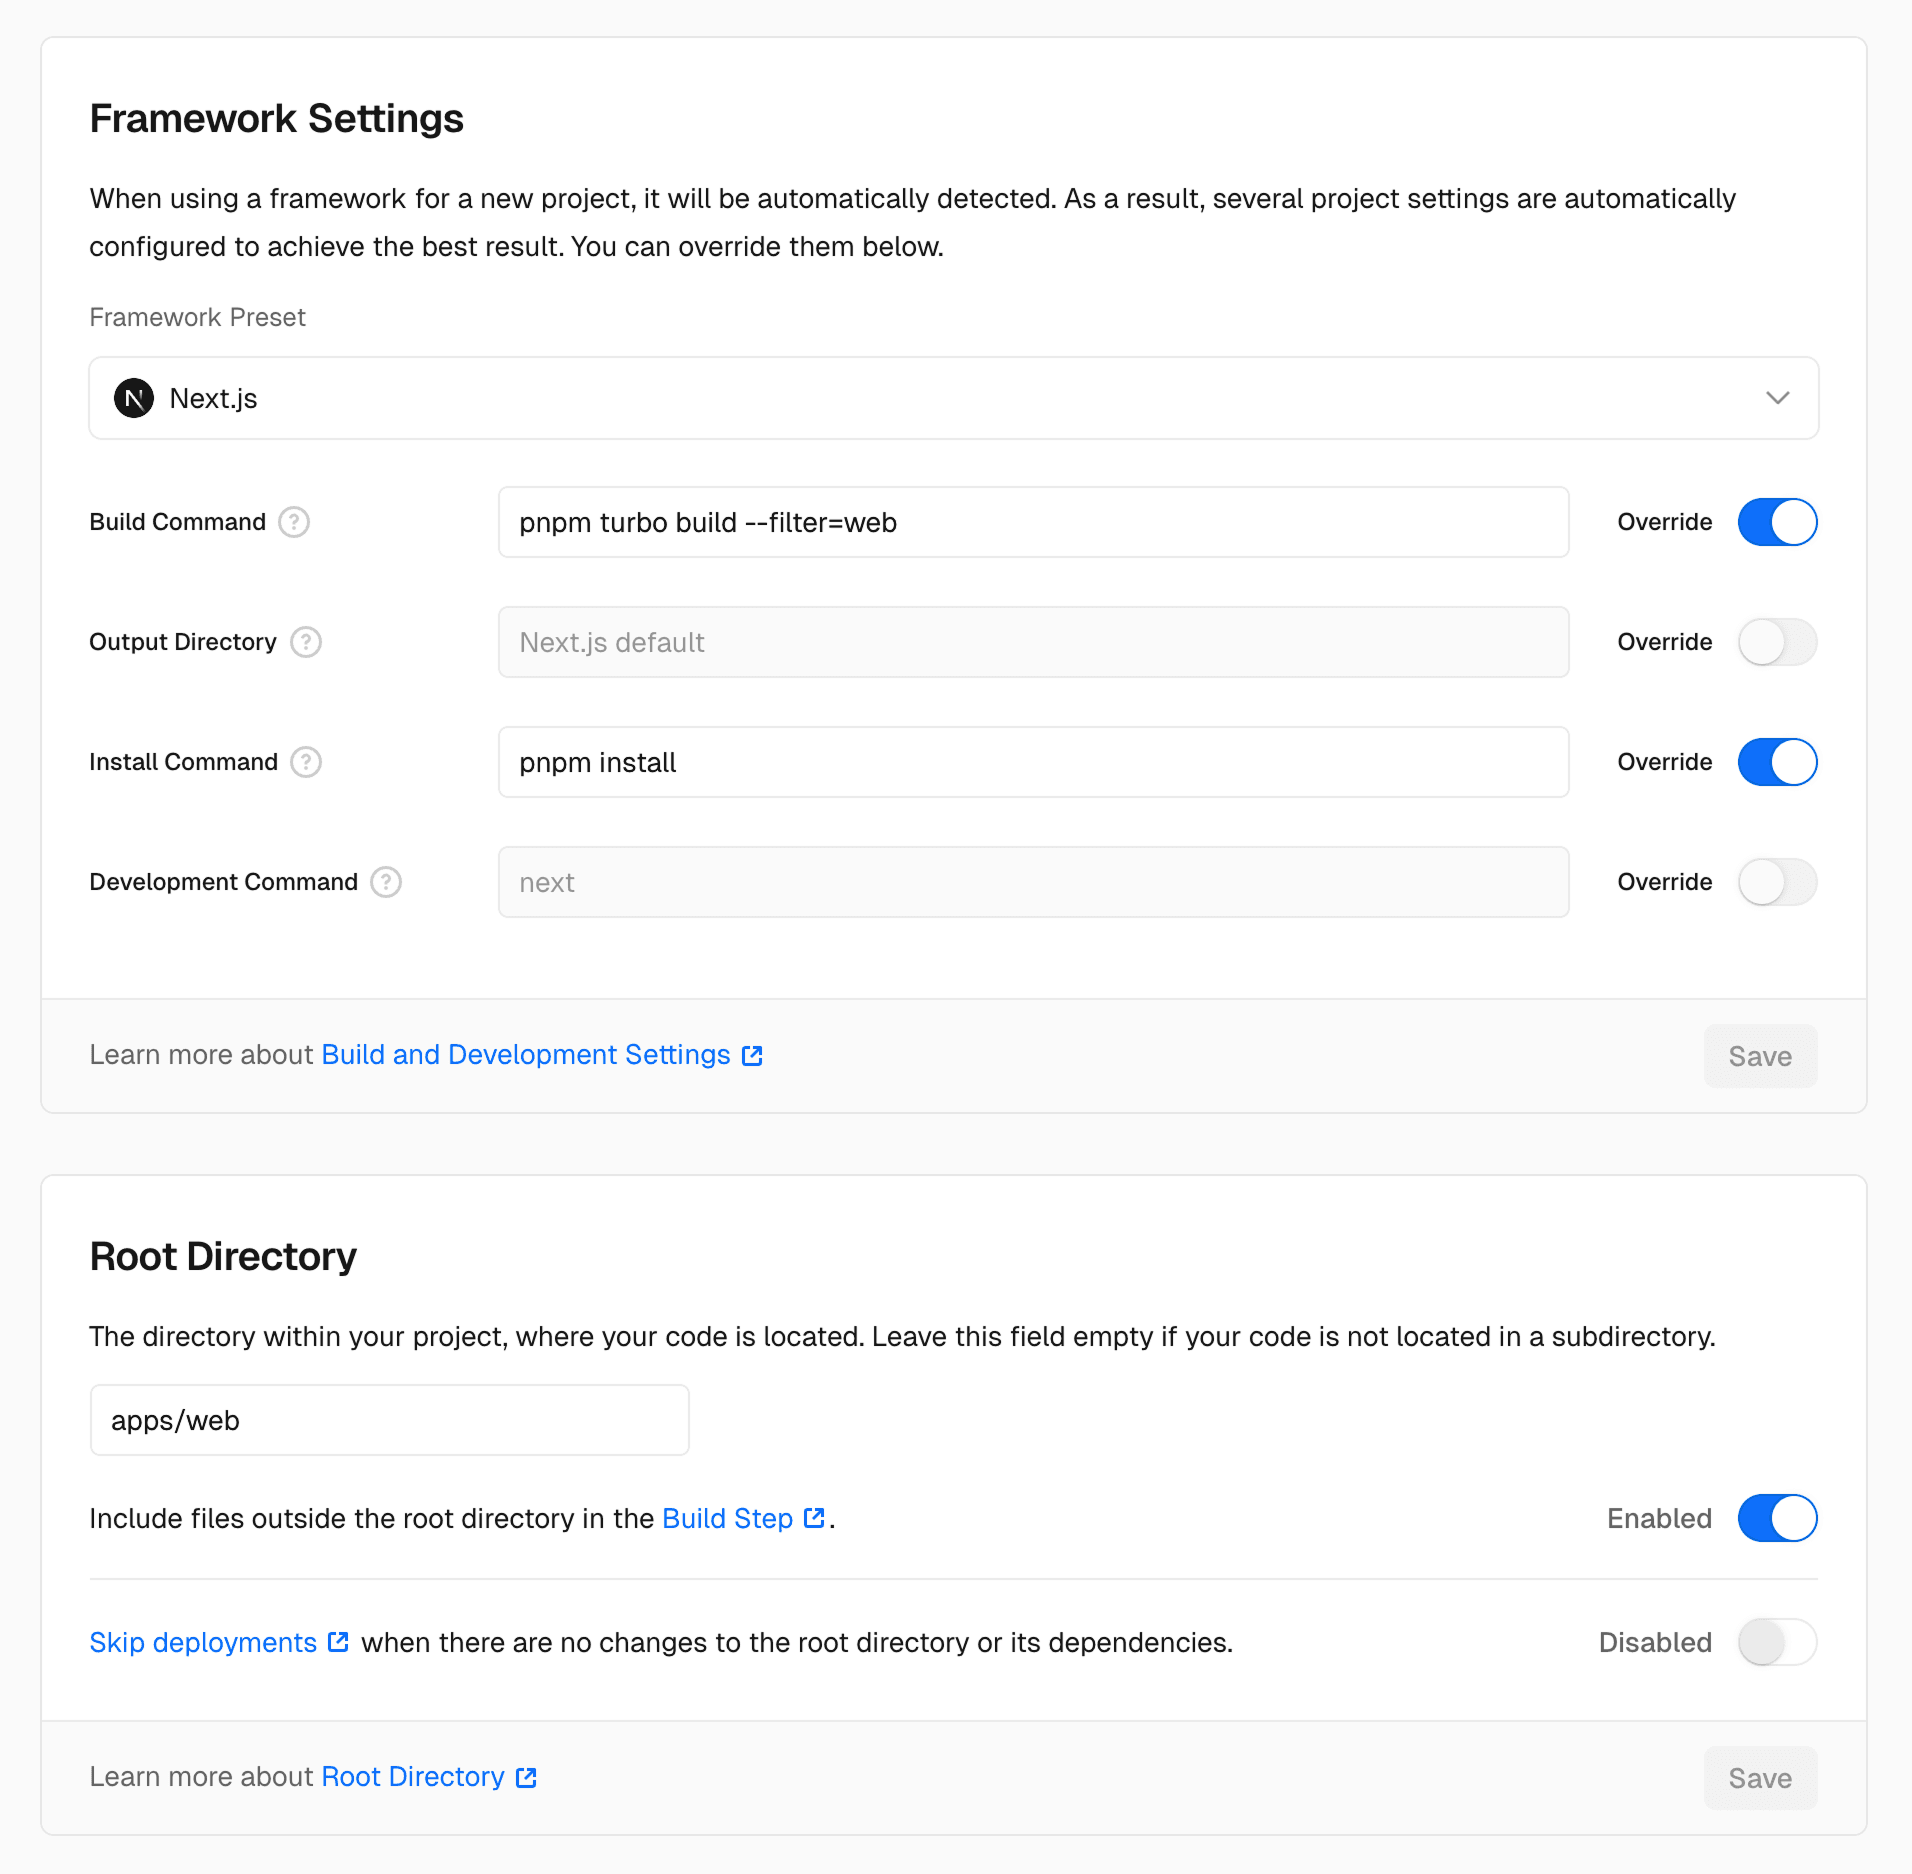
As we're working in monorepo, some additional settings are required to make the build process work.
Make sure to set the following settings:
- Build command:
pnpm turbo build --filter=web- to build only the web app - Root directory:
apps/web- to make sure Vercel uses the web folder as the root directory (make sure to check Include files outside the root directory in the Build Step option, it will ensure that all packages from your monorepo are included in the build process)
Configure environment variables
Please make sure to set all the environment variables required for the project to work correctly. You can find the list of required environment variables in the .env.example file in the apps/web directory.
The environment variables can be set in the Vercel dashboard under Project Settings > Environment Variables. Make sure to set them for all environments (Production, Preview, and Development) as needed.
Failure to set the environment variables will result in the project not working correctly.
If the build fails, deep dive into the logs to see what is the issue. Our Zod configuration will validate and report any missing environment variables. To find out which environment variables are missing, please check the logs.
First deployment may fail
The first time this may fail if you don't yet have a custom domain connected since you cannot place it in the environment variables yet. It's fine. Make the first deployment fail, then pick the domain and add it. Redeploy.
Deploy!
Click on the Deploy button to start the deployment process.
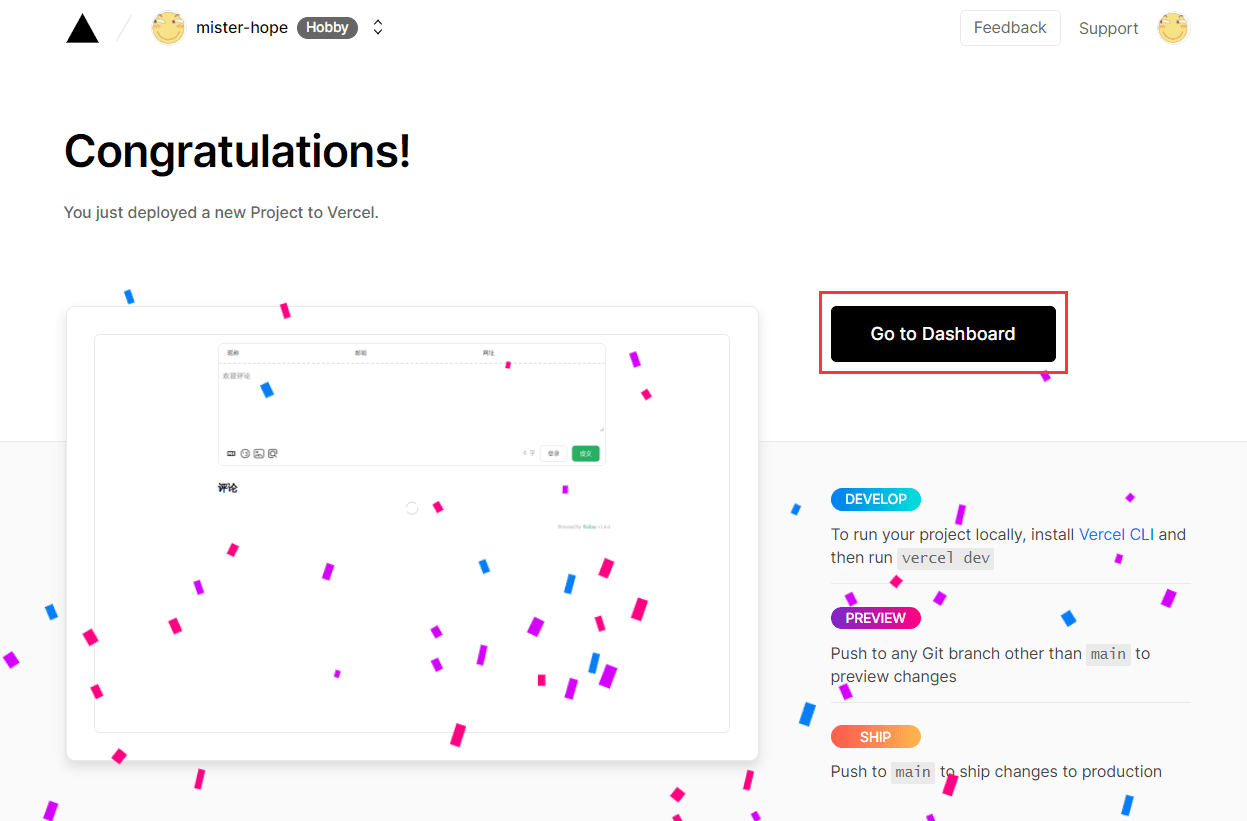
That's it! Your app is now deployed to Vercel, congratulations! 🎉
Despite connecting your repository is the easiest way to deploy to Vercel, we recommend using preconfigured Github Actions for the most granular control over your deployments.
We'll leverage Vercel CLI to deploy the application on the CI/CD pipeline. See official documentation on deploying to Github Actions.
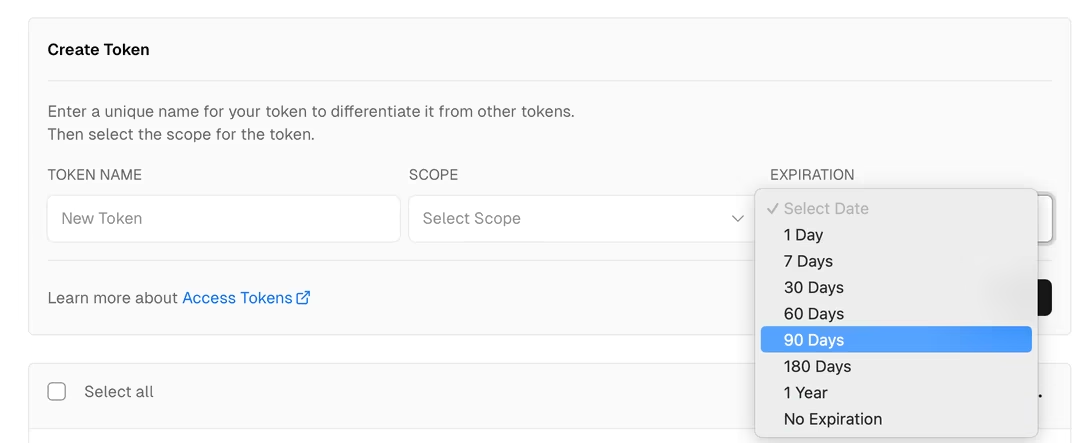
Get Vercel Access Token
To deploy the application, we need to get Vercel access token.
Please, follow this guide to create one.
Install Vercel CLI
We need to install Vercel CLI locally to be able to get required credentials for our Github Actions.
You can install it using following command:
pnpm i -g vercelThen, login to Vercel using following command:
vercel loginGet credentials
Inside your folder, run following command to create a new project:
vercel linkThis will generate a .vercel folder, where you can find project.json file with projectId and orgId.
Configure Github Actions
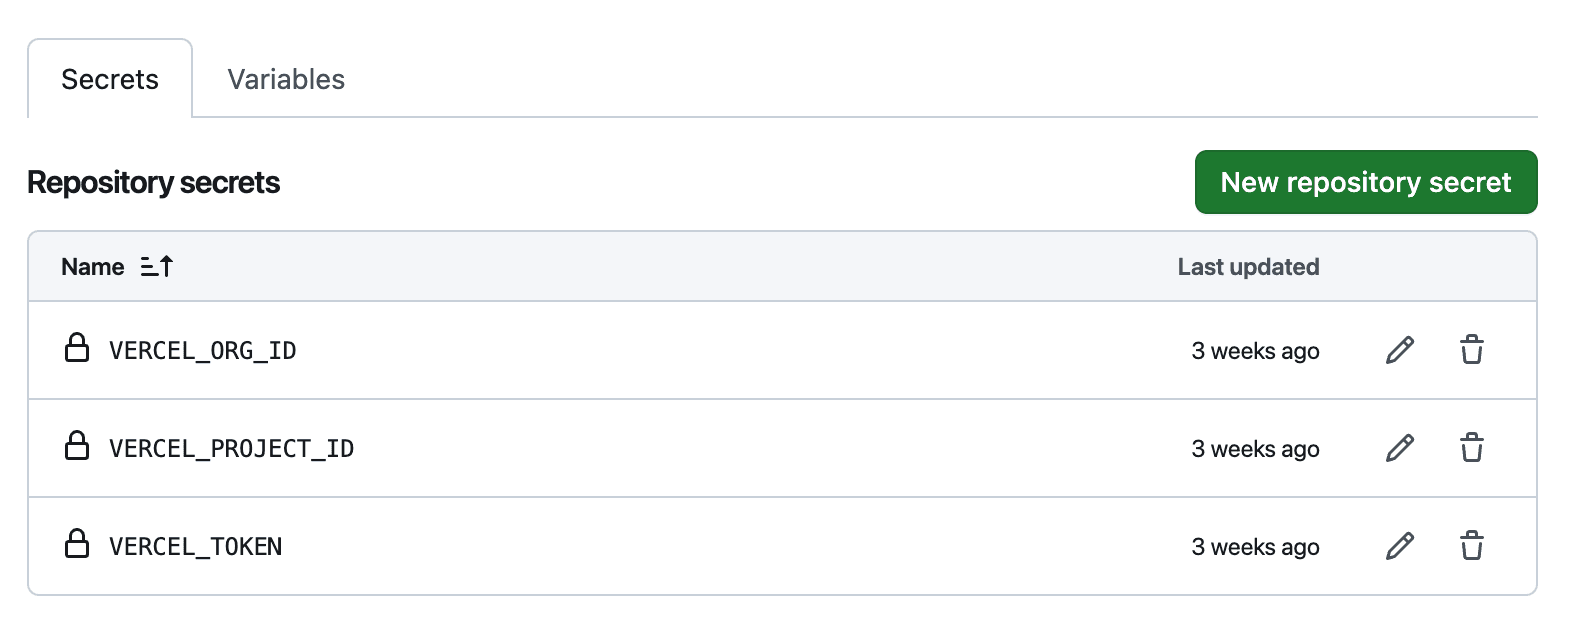
Inside GitHub, add VERCEL_TOKEN, VERCEL_ORG_ID, and VERCEL_PROJECT_ID as secrets to your repository.
This will allow Github Actions to access your settings and deploy the application to Vercel.
Configure project settings
As we're working in monorepo, some additional settings are required to make the build process work.
Make sure to set the following settings:
- Build command:
pnpm turbo build --filter=web- to build only the web app - Root directory:
apps/web- to make sure Vercel uses the web folder as the root directory (make sure to check Include files outside the root directory in the Build Step option, it will ensure that all packages from your monorepo are included in the build process)
Configure environment variables
Please make sure to set all the environment variables required for the project to work correctly. You can find the list of required environment variables in the .env.example file in the apps/web directory.
The environment variables can be set in the Vercel dashboard under Project Settings > Environment Variables. Make sure to set them for all environments (Production, Preview, and Development) as needed.
Failure to set the environment variables will result in the project not working correctly.
If the build fails, deep dive into the logs to see what is the issue. Our Zod configuration will validate and report any missing environment variables. To find out which environment variables are missing, please check the logs.
First deployment may fail
The first time this may fail if you don't yet have a custom domain connected since you cannot place it in the environment variables yet. It's fine. Make the first deployment fail, then pick the domain and add it. Redeploy.
Deploy!
By default, TurboStarter comes with a Github Actions workflow that can be triggered manually.
The configuration is located in .github/workflows/publish-web.yml, you can easily customize it to your needs, for example to trigger a deployment from main branch.
on:
- workflow_dispatch:
+ push:
+   branches:
+     - main
Then, every time you push to main branch, the workflow will be triggered and the application will be deployed to Vercel.
That's it! Your app is now deployed to Vercel, congratulations! 🎉
Vercel
vercel.com
Troubleshooting
In some cases, users have reported issues with the deployment to Vercel using the default parameters. If you encounter problems, try these troubleshooting steps:
-
Check root directory settings
- Set the root directory to
apps/web - Enable Include source files outside of the Root Directory option
- Set the root directory to
-
Verify build configuration
- Ensure the framework preset is set to Next.js
- Set build command to
pnpm turbo build --filter=web - Set install command to
pnpm install
-
Review deployment logs
- If deployment fails, carefully review the build logs
- Look for any error messages about missing dependencies or environment variables
- Verify that all required environment variables are properly configured
If issues persist after trying these steps, check the deployment troubleshooting guide for additional help.
How is this guide?
Last updated on